2020-05-27 - Update: The firmware listed in the thread is now (has been for a while) a “Universal” firmware that works with just about any ESP8266 based RGB/WW/CW controller. You just need to assign the proper pin numbers in the web interface of the device after you add it to the wifi network. Thanks to @cjcharles on the help on the firmware! Universal Firmware
For detailed instructions on flashing and setup including video & photos, see post 360.
2017-02-15 - Update: I have added compatibility for a few new controllers that are sold under the Arilux brand. I’ve posted the specifics further in this post.
2017-01-23 - Update: I’ve added the ability to export and import programs. Scroll down for some program strings that can be copied and pasted into the SmartApp.
2017-01-21 - Update: I’ve made some changes to the firmware for support for an interesting ESP based bulb I am testing. The price of wifi bulbs is coming down (This one is about $25) and with the Qube bulb recently announcing that they are in talks with SmartThings, I’m not sure how justifiable these are (especially if you have to pay as much as I did for shipping to the US). Nonetheless, they work if anyone is interested.
Here is the firmware for the bulb.
To flash the bulb you simply connect to it’s self created AP, go to 192.148.4.1:8080 and upload the file. No wires required (unlike the controller).
https://authometion.com/shop/en/home/13-lyt8266.html
2016-12-13 - Update: For very detailed instructions on how to get up and running you might want to refer to this great post by @michaelahess
2016-08-25 - Update: Released a new additional SmartApp to create 5 virtual dimmers and keep them in sync with the SmartLife Controller (R, G, B, W1, W2). Now you can easily control up to 5 separate LED strips off of a single controller. See post 88. I am using child devices now. You just need to install the switch child device handler below and choose the different channels you want in the device preferences.
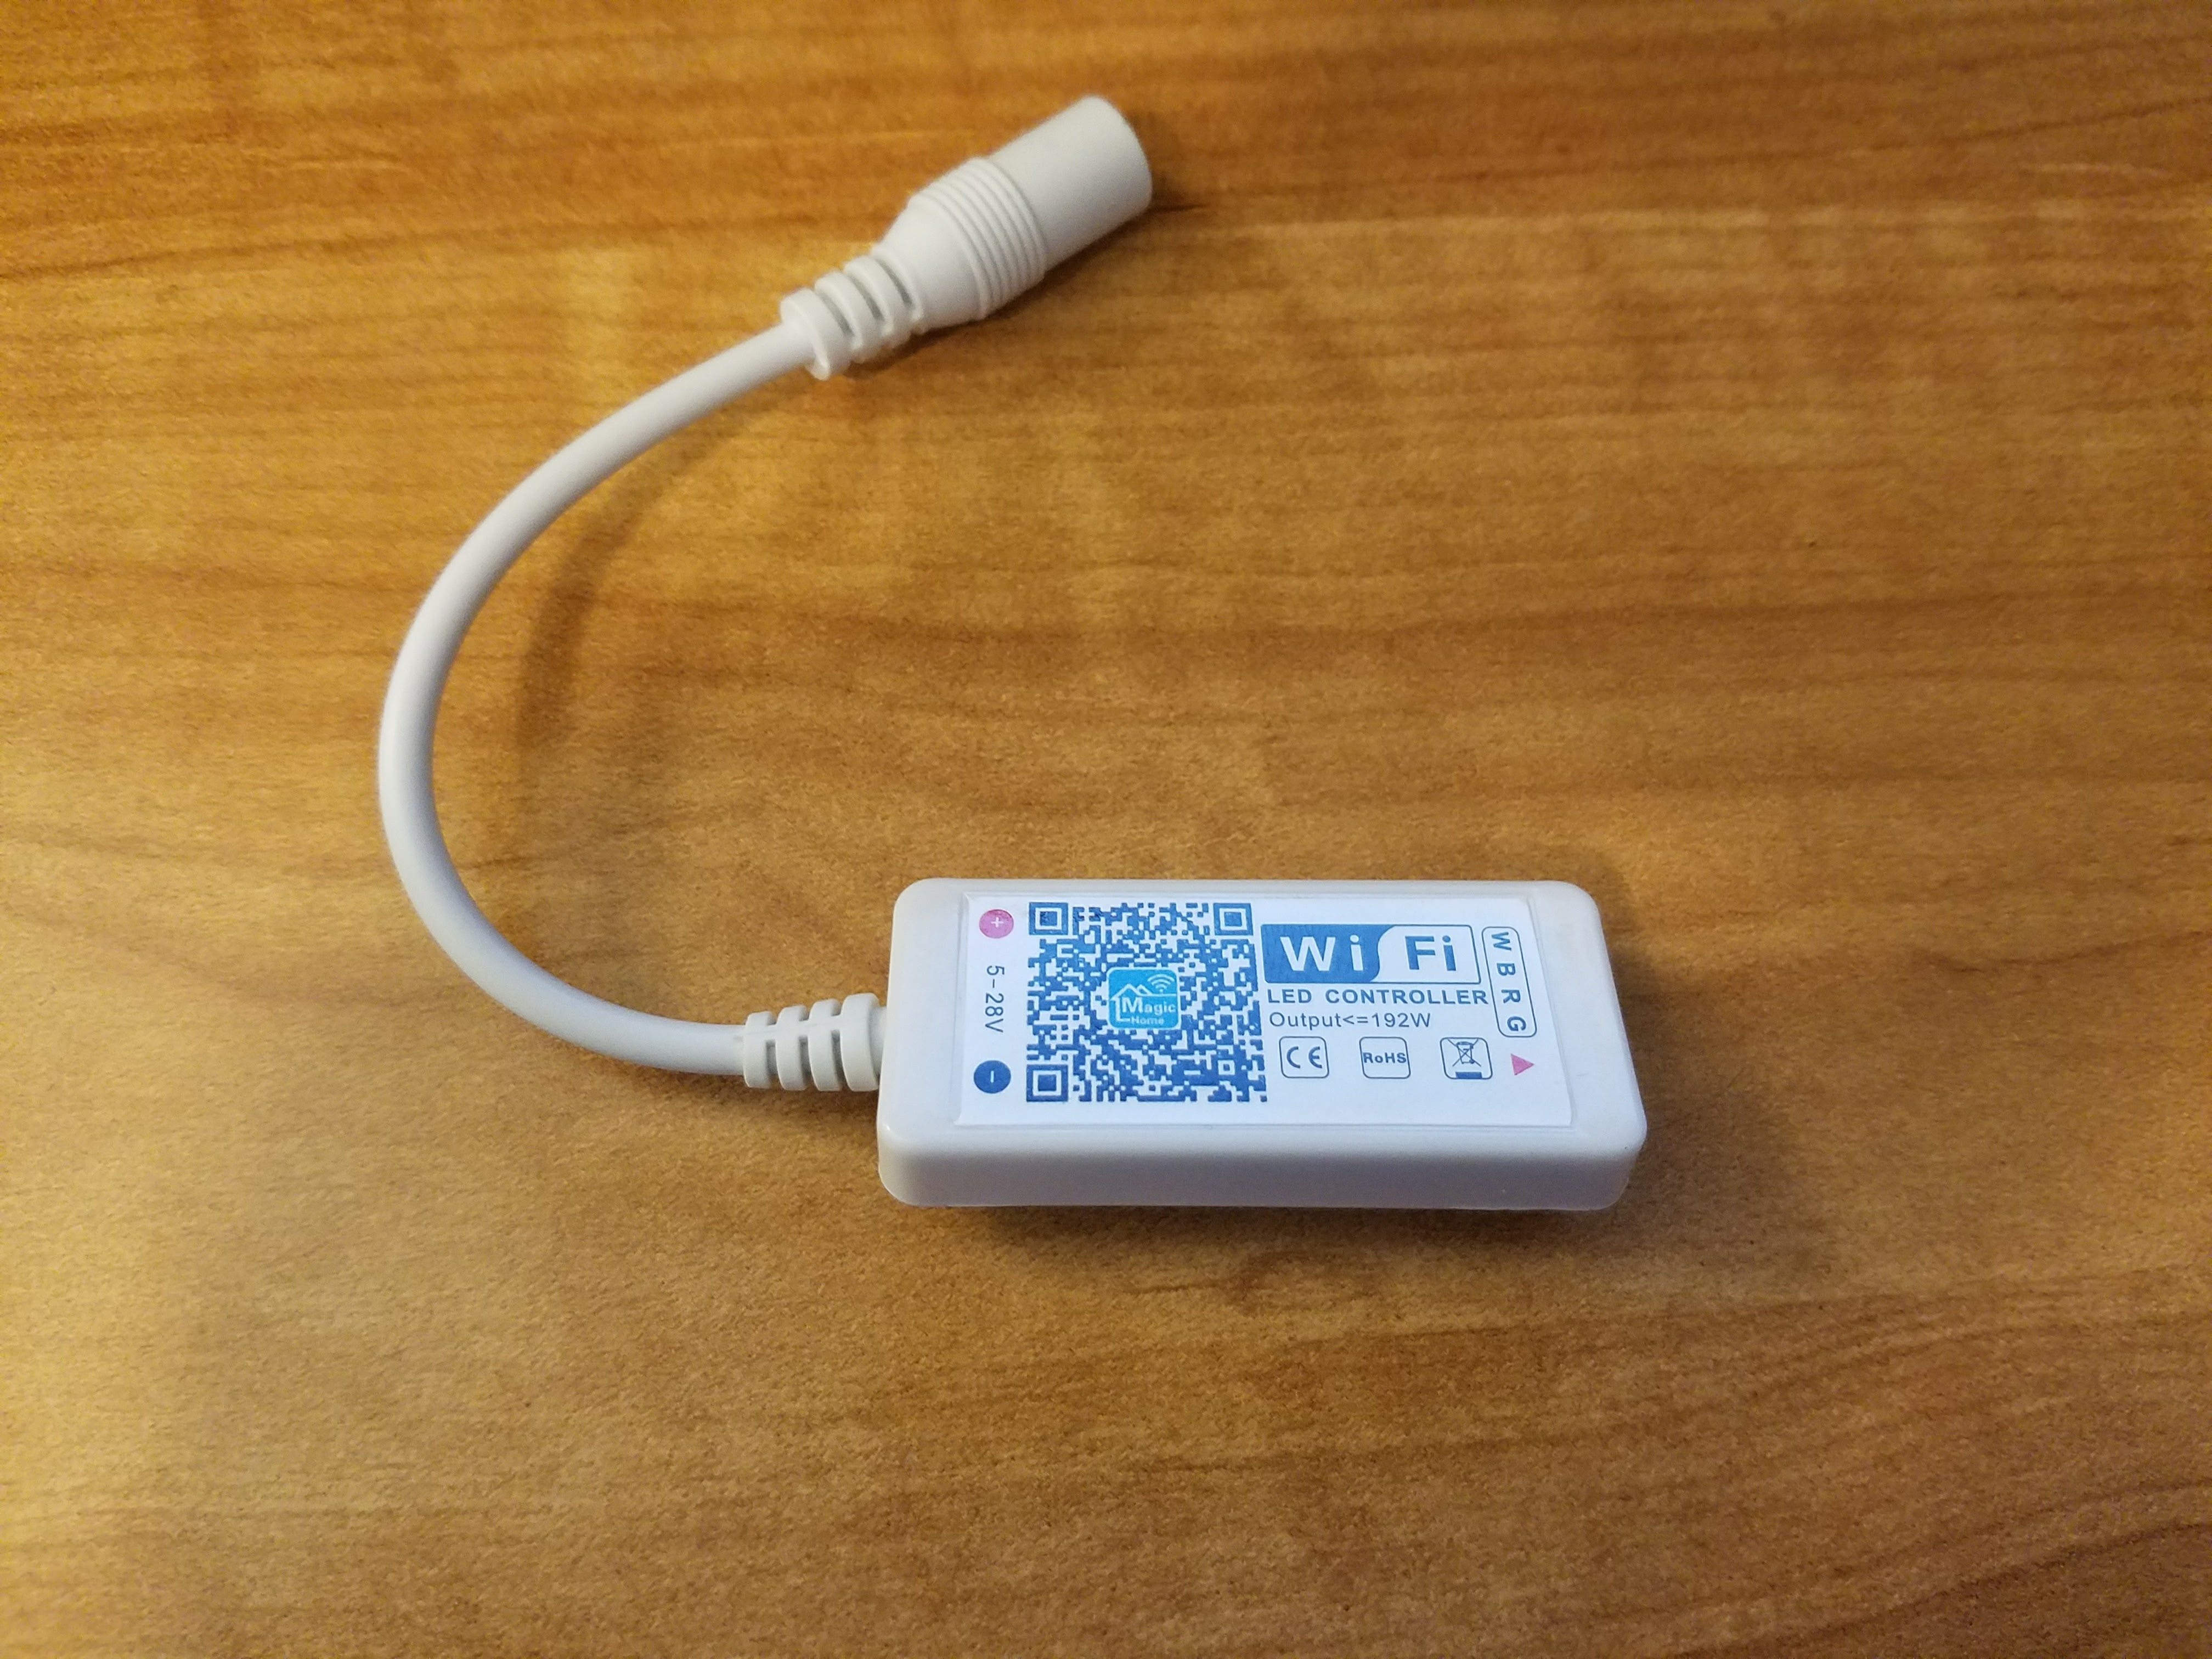
This is a relatively inexpensive RGBW controller powered by the esp8266. It is a great little device that I have spent some time working on. Currently using 3 in my home and they have been great. This is a really fun device.

I have created a service manager, device handler, and firmware for the device for SmartThings. Like I said, it is a great device, but the software probably needs some bugs ironed out. I am working on it with my limited time so hopefully it will get polished eventually, but it is extremely reliable as is.


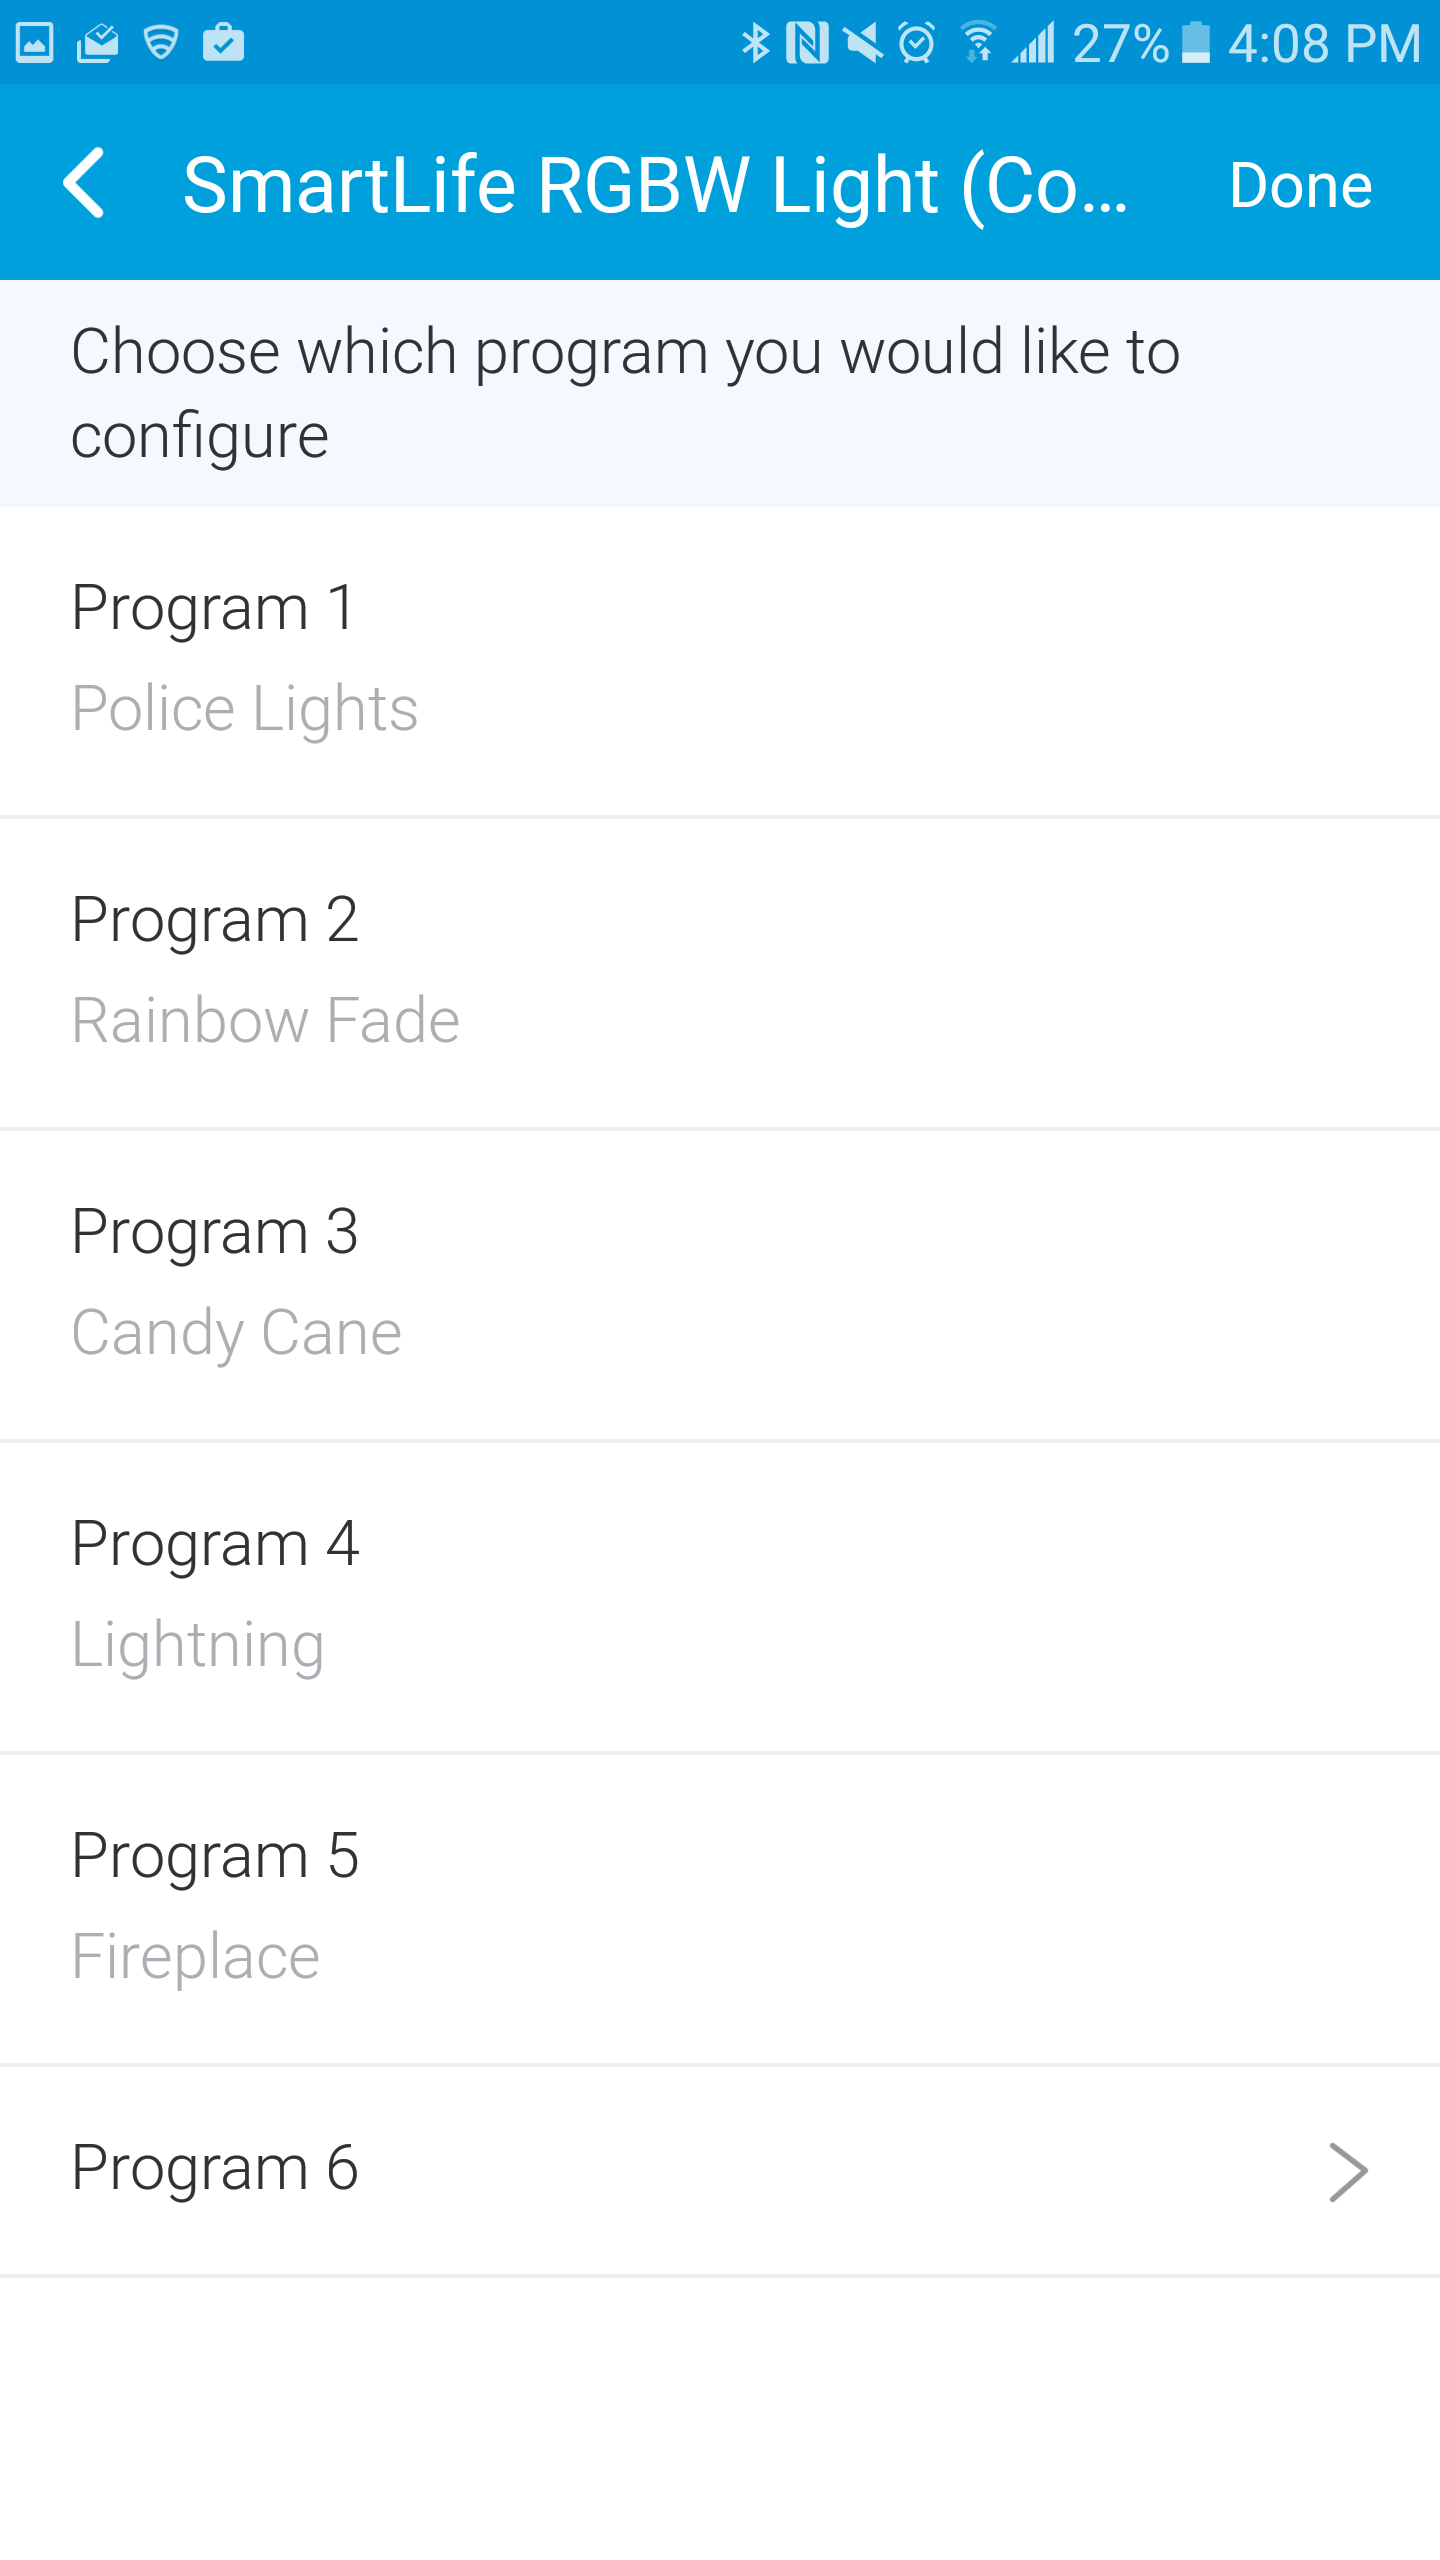


The service manager lets you create “programs” and virtual switches for the programs. This way you can have a program activated based on an event. For example, you could have the LEDs flash blue and red if someone opens the front door in the middle of the night. The virtual switch will show up as a regular switch in SmartThings so there are many possibilities with this.
First, here is the binary for the firmware. You flash the device just like most other esp8266 devices. There are instructions listed in my Sonoff thread. To put the device into flash mode, jumper the solder points together that are labeled “J3” and power the device up.
Second, there are three SmartThings pieces of code that need to be installed. First, the device handler for the Controller. Then the device handler for the virtual switch. Lastly, the SmartApp. They are listed at the bottom of this post.
After the firmware is flashed, the device will broadcast an ssid of espRGBW.[mac address]. Connect to it with the password “configme”. After you are connected, browse to http://192.168.4.1 and connect the device to your wifi network.
From that point you will open the service manager app and discover new devices. It should find the device on your network as long as SSDP is working properly on all of your devices. After it is added, you can create programs, virtual switches, and rename them all from in the service manager.
After flashing the device you can use a momentary switch connected to J3 to physically turn the LED strips on and off. Here is a great video by @dalec showing the conversion of a regular switch to a momentary.

Like I said, this is a work in progress and I will work on it when I can. In its current state it works really well. Good luck and have fun. This is a nifty device.
Program Strings
These can be imported into the SmartApp to enable some cool effects on the strips. You, of course, can also make your own programs and export them / share them:
Police Lights,true,2,-1_Red.100.2.100;Blue.100.2.100
Rainbow Fade,false,7,-1_Red.100.1.6000;Blue.100.1.6000;Green.100.1.6000;Yellow.100.1.6000;Purple.100.1.6000;Pink.100.1.6000;Cyan.100.1.6000
Lightning,true,4,-1_Blue.30.1.100-15000;Soft White.70.2.100;Off.100.2.100;Soft White.80.2.100
Fireplace,true,6,-1_Red.50.1.100-3000;Orange.40.1.100-2000;Red.20.1.100-3000;Orange.30.1.100-2000;Red.60.1.100-3000;Orange.10.1.100-2000
Random,false,1,-1_Random.100.1.100-3000
Arilux Controllers:
Update: 07-21-2017 - AriLux controllers are being sold with a change in hardware that is making the esp8266 not boot with custom firmware. The issue is ongoing and has not been resolved yet.
I’m adding support for these controllers that also run off of an esp8266. The flashing process is similar to the H801. I find that holding the wires in place is rather easy if you have an extra set of hands available to plug things in and press keys on the keyboard. So these controllers you connect TX, RX and Ground to the pins shown below. With this all connected and the FTDI connected to your computer, then apply 12V power by plugging in the Arilux controller. After the initial flash, you can upgrade any firmware updates via the web interface. The firmware is slightly different and can be found here: Firmware
That firmware is tested with the AL-LC02 listed below. I will be adding the other two soon. They should be up fairly quickly as they just have some pin number differences.
ARILUX® AL-LC01 (RGB) - ARILUX AL-LC02 (RGBW) - ARILUX AL-LC08 (RGBW1W2)

Oh, and there are several places to buy these, but I picked mine up from: AliExpress.

 Also how to know how much meters of led strip you can attach to this RGBW controller.
 The firmware wasn’t any problem, but putting it on power made it blew up, so i did something wrong.

