Thanks for the ino update! Dumb question, how do I compile it to include your changes in my .bin for flashing?
The current bin i’ve used flashes fines, and the configuration and wifi setup works fine. But the Sonoff Connct can’t find the device.
Thanks for the ino update! Dumb question, how do I compile it to include your changes in my .bin for flashing?
The current bin i’ve used flashes fines, and the configuration and wifi setup works fine. But the Sonoff Connct can’t find the device.
Shelly devices work really well with their standard (new) MQTT firmware. If you want to go that path.
MQTT means you have to have the MQTT “man-in-the-middle” implementation and personally, I’d rather go with the simpler of the two options. You have to use the Arduino IDE to compile and upload the .ino file. But, like I said, it is NOT tested and if you flash it I don’t have the stock firmware either so I cannot help you get back to your existing firmware either. Just FYI.
@KennethEvers - the fact that wifi setup works is encouraging - suggests that compilation and flashing has gone OK. Have you tried manually adding the device in Sonoff Connect?
Yeah, that didn’t work. And couldn’t get the module working out of the box with the Sonoff Connect.
But got it working with a workaround: had to change Module Settings to Generic, and then change GPIO4 to “21 Relay” and GPIO5 to “09 Switch”. That did the trick to be able to toggle the on/off through web-interface. Changed the Emulation settings in “Other” configuration to “Hue Bridge”, which allowed me to add the device in smart things.
That way it works as intended, though I cannot seem to use the switch for on/off (but probably just do to either my wiring or settings on the module).
What firmware did you use? Tasmota?
Yes, Tasmota v. 6.2.1
I have just noticed that the most recent firmware includes beta MQTT functionality - might be another option?
ST doesn’t have MQTT unless you implement the bridge.
I’ve been trying to compile and flash erocm1231"s sonoff firmware for my Shelly1 but while I can successfully flash it, the WIFI AP is always asking me for a password to connect to it. I’ve tried the usual default passwords and none worked. I didn’t do any modifications to the ino file and I can flash Tasmota’s dev firmware and have it fully functional so no idea what is happening with erocm1231’s firmware.
Does anyone have a working bin file or a ino file that actually works? Thank you
What settings did you use to compile in the Arduino IDE? You cant flash the .bin file directly to the device. Eric’s firmware is device specific (different bin file for each device type).
The ino file from the repository has only Shelly defined, also 3 things were giving me errors while compiled, I commented out all 3, 2 were the same thing that is all I did to the file. For the settings in Tools I’m using Generic 8266 module, flash mode QIO, flash size 2M (1M SPIFIS) the rest I do not understand so I left the default: ck reset, v2 lower memory, Crystal 26Hz, Vtables Flash, flash freq 40Mhz, CPU 80Mhz, led 2, 115200, erase flash "only sketch and I’ve tried the 2 other options too.
I didn’t flash any of his bins files because like you said are device specific. I have the latest Arduino IDE with the latest 8266 libraries. I’ve flashed ST_anything to several other devices so I have no clue why this is happening with this specific ino file. Only the AP on the Shelly is always password protected when I flash it, the SSD is called Shelly plus the MAC address
Did you boot into flash mode before flashing?
Yes, I connect GPIO0 to GND before booting the Shelly. I flashed Tasmota and even ST_anything on my Shelly so I know it works. Right now I’m using it with Tasmota with Hue emulation but that puts a virtual hub in my Things screen. I prefer erocm1231"s firmware. Do you have a working bin file for the Shelly?
Thanks
Wait…when you flash Eric’s firmware compiled for the shelly, what happens? Did you connect using “configme” as the wifi password and then go to 192.168.4.1 in the browser of the device connected to it. Also, if you’ve configured the device to use the correct wifi with Tasmota, as long as you are only erasing sketch when you re-upload eric’s firmware, you no longer NEED to set the wifi as it’s already configured to connect to your wifi.
Having about 30 switches in the house that will eventually want to make smart, I wanted to just use the native Shelly API rather than flash a whole slew of devices. Being that “Necessity is the mother of invention”, or in this case “integration” I have just completed a Shelly 1 device type for the native Shelly API. This is the first Smartthings device type I have written ever so its not completely robust, but it’s been working for me with some limitations:
Instructions:
Adding the Device Handler:
Adding a Shelly Device:
You should now see your shelly in your device list and it shows up in the ST app basically anywhere a smart switch will show up as far as I can tell.
Unfortunately I don’t have a-lot of time to devote to these kinds of things so if anyone would like to run with this code… by all means please do @shelly.cloud  . I hope this helps others out there who are not fond of flashing 30 devices! Enjoy!
My apologies for anyone who pulled the code from above within the first few hours of my posting. I had not merged the git repository from develop to master so the device handler may not have been the latest. It has been merged now.
Hi Patric,
Nice work with this device handler.
I have some issue with the status, is only showing a 0 not on or off if I press the button it turn on the shelly but the status never changes so I can not turn off the shelly.
did you have some work around?
I think is missing the status and refresh capability on the device handler
JP,
Are you using the Shelly provided OS with API or did you flash it with Tasmota? This was meant to be used with the native Shelly API and I wouldn’t expect it to work with Tasmota . Also, this will only work with the Shelly 1 as it only controls relay 0 at this time. Here is a screenshot of my current firmware version.
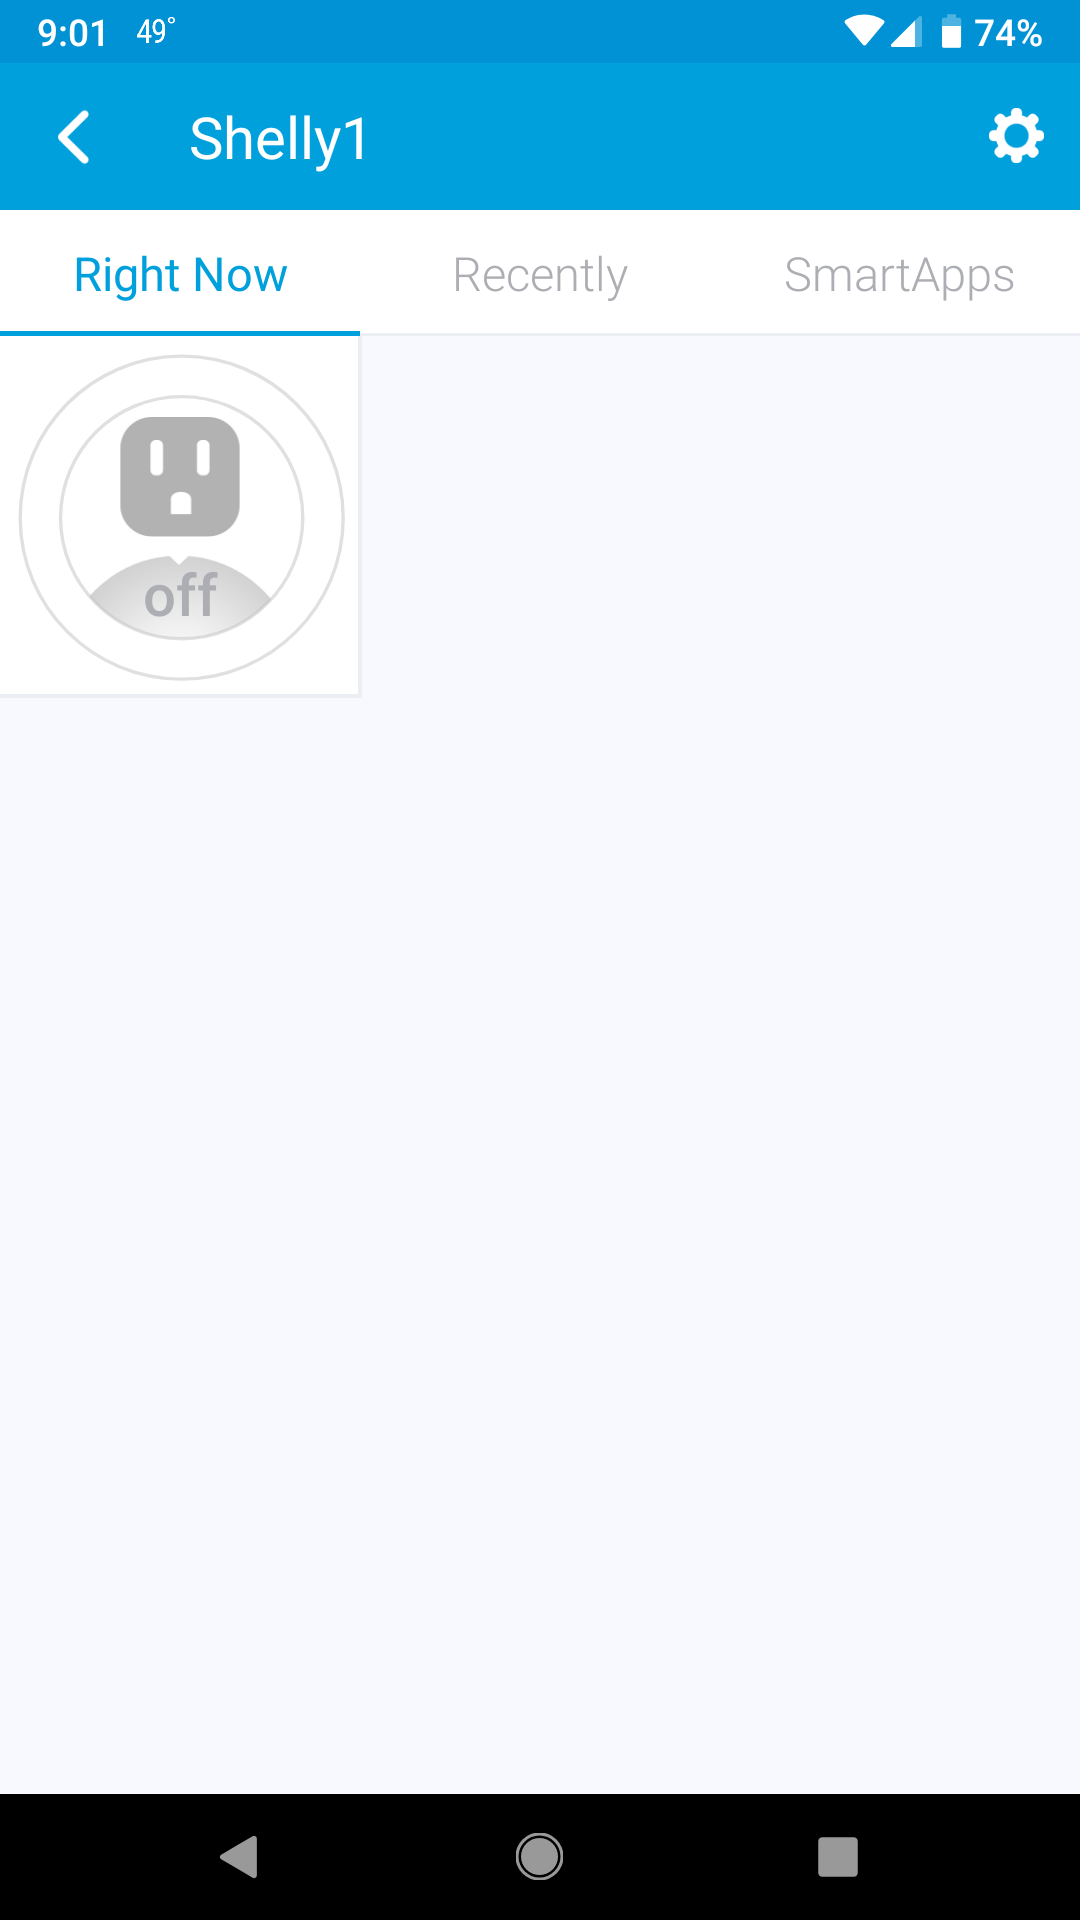
Also here is a screenshot of what it looks like in my Smartthings.
As I stated before, this is my first device handler so it’s very possible I don’t have everything perfect. Refresh is a great example of that. I would like to poll the device more often that once per minute but haven’t cracked that nut yet.
Patrick
JP,
I think I’ve replicated your issue. I added another device without configuring the IP and I see what I think you are experiencing. The image below shows two shelly devices. The first has been configured with the correct IP address of the Shelly device and the second has not.
Make sure you have configured the IP of the Shelly through the IDE as stated above:
Use the edit link by Preferences:
Enter the IP address of the Shelly and click Save.
I used the Shelly app to get the address of my Shelly. If you set the IP in there at one point, you may want to see if the Shelly IP address changed. If this is the case then you will need to either give the Shelly a dhcp reservation in your router or give your Shelly a static IP outside of the dhcp range of your router.
Hope that helps.
Patrick