You can either clip the cable from the battery pack that they force you to buy and will never use or you can just order “usb micro male power pigtail” cables from eBay or the likes. Micro USB is the current (2021) connector used - I have some older (2016 vintage) identical shades that used Mini USB and didn’t realize they had updated the connector to Micro, ack! I am sure that at some point they will change it to USB-C. This was the only major problem I had setting all this up (see below).
All USB cables since USB was created are the same wiring inside - it’s just the shape of the connector on the end that differs. Really, there is zero special about the cable required here other than it does not need the data wires - just the power and ground. One thing of note that is different is that anything USB runs off of 5v but this runs off of 12v so even though it is the same wires it isn’t technically USB voltages.
I figure I should share my setup for anyone looking to do this for the Roman Shades and double-hung windows - so if you’re using a different shade/window you might have to adjust slightly. I looked at the alarm/CCTV panel solutions that many have used on this thread but for whatever reason they charge a huge premium for basically a metal box and a power supply (WTF!). Thanks to @barrios35 for the idea!!
The premise I had was that each room would have its own wiring and power supply that was fed off of the circuit for the room as opposed to a single box for everything. I think this makes sense as you don’t have a single point of failure for the whole house and it avoids having to have a lot of long runs from a central point - something that is a real-world factor with DC power supplies (and why everything is AC I’ll just add). Another factor is load and wall ratings - wire is cheap so buying bigger wire makes sense and you definitely want wire that is rated for in-wall use (think fire code).
Here’s what I used for a room with 5 shades:
These power supplies are available in a wide variety of specs - I chose one that would take the peak demand for all 5 shades (5 shades @ 2.1A peak so 12A) and I am sure it is way overkill but the cost is so low it’s not worth thinking about. They also have an adjustable voltage +/- some range around the nominal rating (12v for this model).
I have basement access to the room and was doing a complete gut so installation wasn’t that bad. Here’s the basic steps I took:
- Wire a 120v AC outlet in a rafter location near the windows or whatever is convenient. Per NEC, this outlet must be accessible/serviceable later.
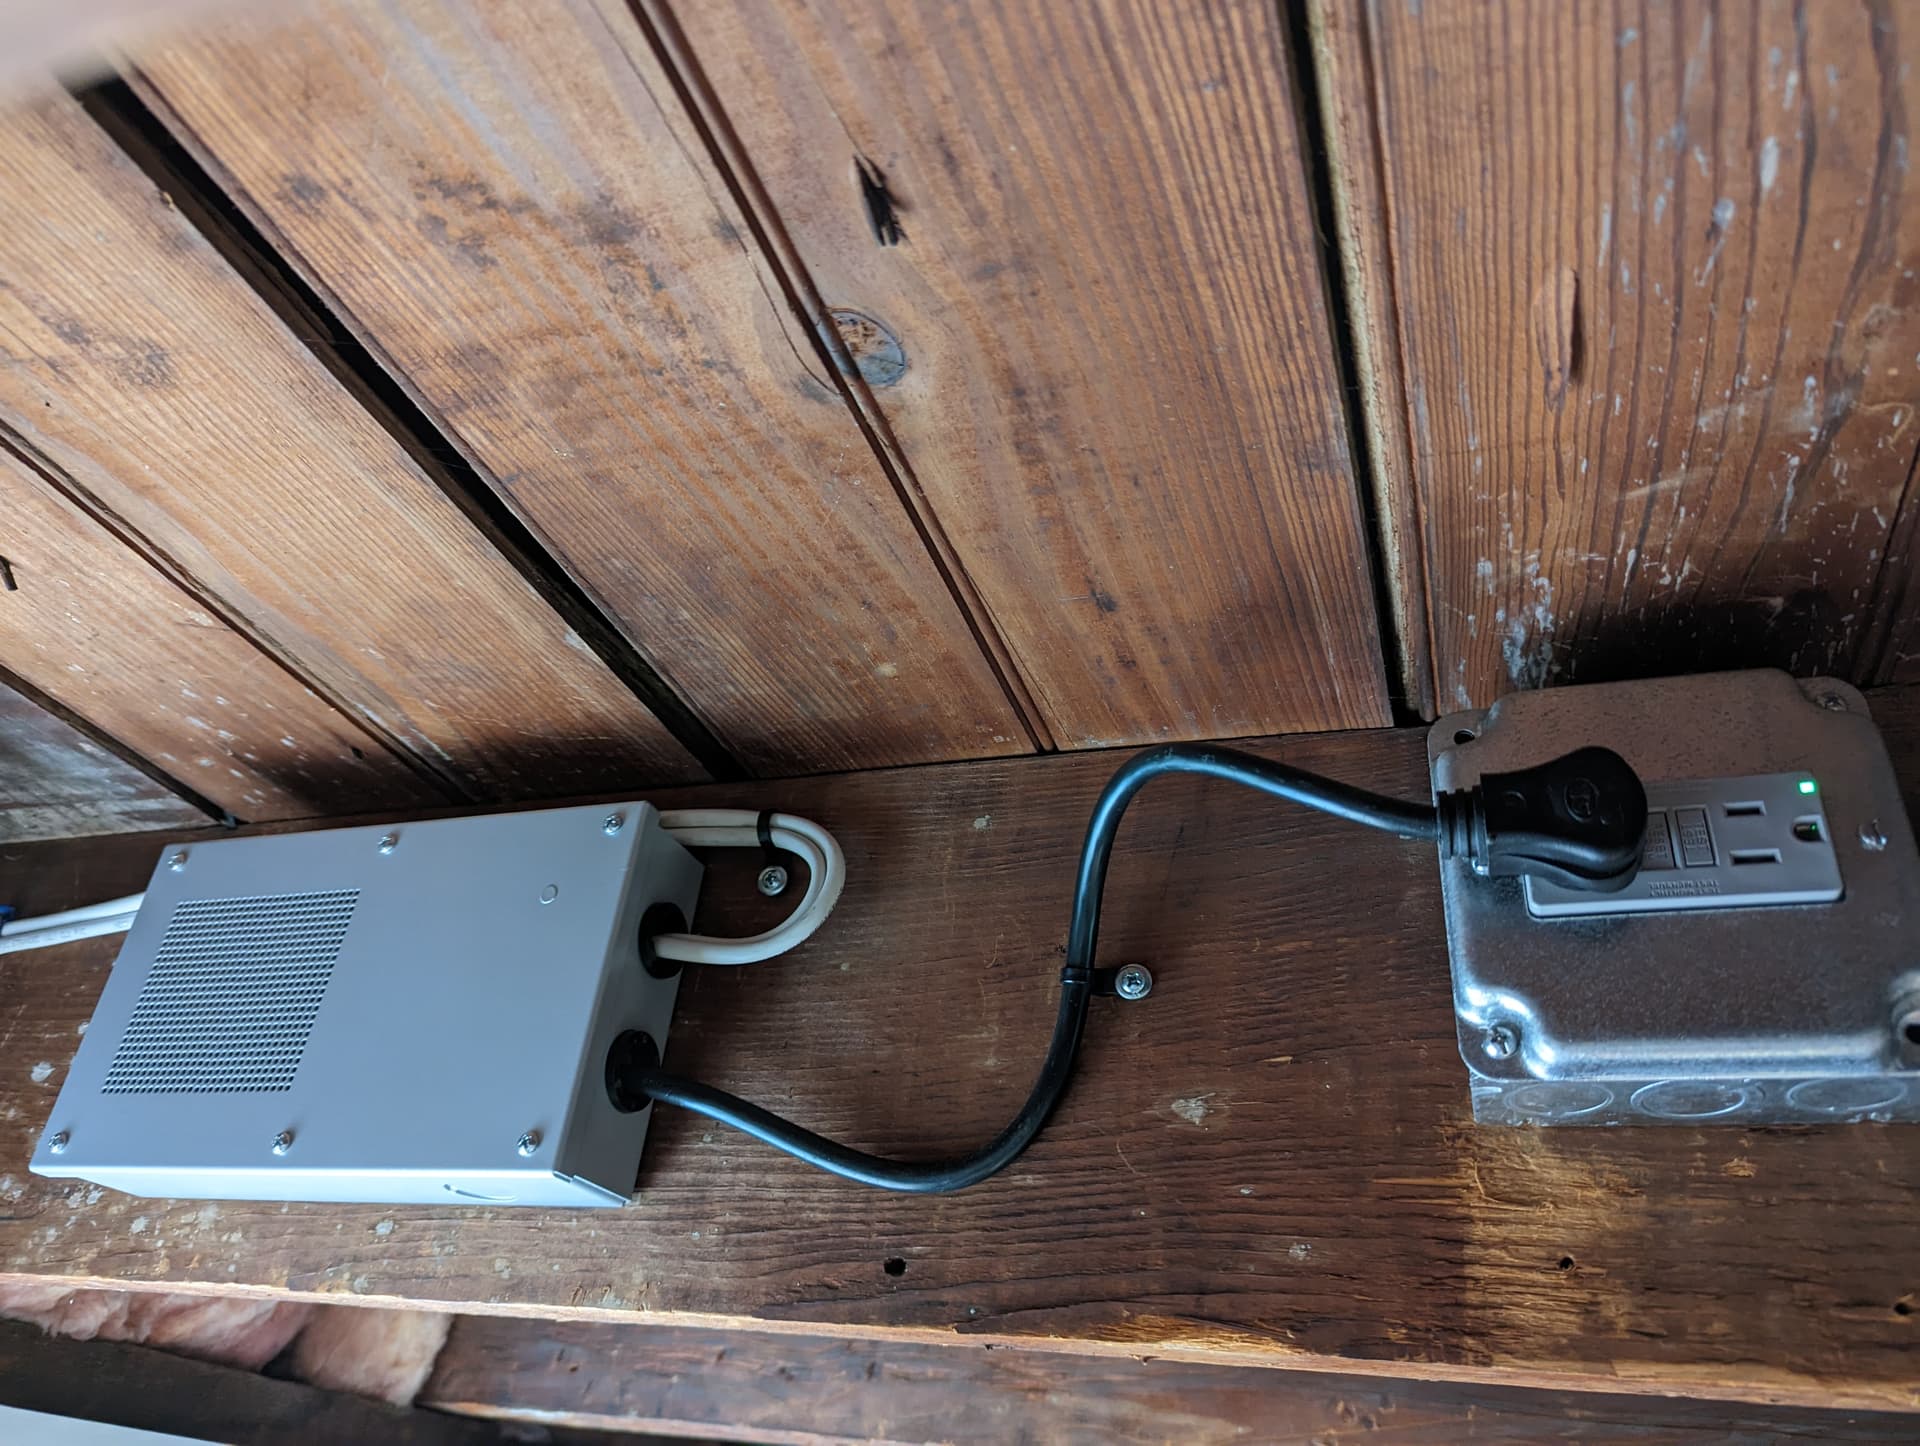
- Mount and connect DC power supply (recommend putting this in a NEMA-1 enclosure for safety)
- Run cable to each window, drilling holes using a 1/4" bit. At the window, put a hole about 4" down from the top of the frame on the right side and as close to the window as you can go (to avoid interfering with the shade and so nothing is visible). You could put the hole anywhere technically but this is the closest location to the shade’s short power cord.
- Strip, solder, and heat shrink in the USB connectors and use the spade connectors at the power supply
- I was redoing the woodwork anyhow so I installed new stops and cut a small rectangular hole for the power cable which I think gives a nice clean look.
Here’s a few pictures I took…
Power Supply installed and wires to each window:
Power Supply enclosed in the TRC Enclosure (from a different room/shades):
Window with pigtail cable soldered with heat shrink:
Final look all connected up with window stops replaced:
What it looks like from the room:
Note that I originally got the wrong USB connector since they changed the connector at some point from Mini USB to Micro USB so I had to buy some mini-to-micro adapters - what a bummer as it’s wicked ugly. But, this is all pretty invisible so I might just leave it, we’ll see.