Got the server setup on my windows machine last night and it works great. Quickly added a couple lights and they work flawlessly. Thanks a lot for this.
1 Like
Question: What I have noticed is that using my google home to control my lights works great as long as my first command is to turn the lights on. Basically if I switch the lights on using a remote, I cannot tell the google home to turn the lights off without first telling them to turn on. I know this is because the state of the light is not communicated to smartthings, but is there a workaround for this?
This is exactly my next issue I’m working on as I have a remote as well used for my office lights that suffers this same fate. I think it can be resolved with some simple existing SmartThings apps however, I have yet to fully figure it out. I’ll work on it some today and get back as soon as I can.
Well that didn’t take me long, just had to put some thought into it. So here’s the dealy-o:
-
Create two virtual switches, one called something to always turn on and the other to always be called to turn off.
-I created “Office On” & “Office Off” this way when I want to use my voice automation I simply request “Turn on, office on” or “Turn off office off” (Unfortunately I don’t have a better naming scheme so it sounds like you’re stuttering but, let me know if you come up with a better naming generic than slapping “On” & “Off” onto the end) -
Set up my MiLight app for both switches but only have it the appropriate on/off command:
-For “Office On”, I have everything normally set up however I set the path for the “Off” url as “/null” this way nothing happens. For “Office Off” same thing just reversed so that when it turns “On” it sends “/null”. Keep the on path for “On” and “Off” for each switch as expected (for me just “/officeon” & “/officeoff”) -
Install if you don’t have it already the preloaded SmartThings “Smart Lighting” and add two automations:
-For your “On” switch, select that as the light to control, have it turn off for the “What do you want it to do?” and have it triggered by switching on/off. Then for the second choice of “Which switch” again choose your “On” Switch and for “Turn off lights when” have it when turned on. This will force your on switch to always be in a “Off” state so you can turn it on from your voice automation regardless of it’s physical state and it will revert back to off waiting to be turned on again. That way, you can always turn on your lights even if they already were or actually were off.
-For your “Off” switch, same just reversed, add another automation and select your “Off” switch as the light to control, and set it to turn on. Same trigger of switch turned on/off and again, the second switch choice should be the same as the first your “Off” switch. So for this one, choose for “Turn on lights when” turned off. Same logic as your “On” switch but reversed so it’s always on and turning it off will send the url request with nothing happening (or just /null being sent) when turning on which it should automatically do when turned off so you can always ask your voice automation to turn it off as many times as you’d like regardless of the physical state of your lights.
Hope that helps! Let me know if there’s any confusion.
I am new with smartthings. I just switched over from vera and I am trying to get this to work. I can turn my milights on and off but if I try to set the brightness I get an error that says,
TypeError: colorCommands.brightness is not a function
at Server.http.createServer (C:\http-shell\server.js:70:40)
at Server.emit (events.js:159:13)
at parserOnIncoming (_http_server.js:619:12)
at HTTPParser.parserOnHeadersComplete (_http_common.js:117:23)
My lights are white not colored. Here is what my commands look like,
{ url: ‘/milight/1/on/white’, type: ‘milight’, ip: ‘192.168.1.50’, zone: 0, bulbType: ‘white’ , off: false },
{ url: ‘/milight/1/Dim5’, type: ‘milight’, ip: ‘192.168.1.50’, zone: 0, bulbType: ‘white’ , brightness: 5 },
{ url: ‘/milight/1/Dim100’, type: ‘milight’, ip: ‘192.168.1.50’, zone: 0, bulbType: ‘white’ , brightness: 100 },
{ url: ‘/milight/1/off’, type: ‘milight’, ip: ‘192.168.1.50’, zone: 0, bulbType: ‘white’, off: true },
Again the on and off work but as soon as I try the brightness command it exits the script with the error above. Any help would be appreciated. Thanks!
Hey Spencer,
Sorry for this lack of a feature but unfortunately the brightness commands for the white bulbs never seemed to pan out when the software solution was first being developed. I have however figured out a solution! Or workaround, either way I’ll get you in business:
To begin you’ll need to add some software to whatever folder you’re using to store the “http-to-shell” server download. Also I’m assuming you’re using Windows, if it’s something different I should be able to still get you up and running but for now we’ll stick with Windows solutions. Go to Packet Sender - Download and download the “Portable” version of this app. Unzip the contents into the “http-to-shell” folder (should be your location of the “registered-commands.js”). This allows us to simply send a direct UDP command from your server, triggered by SmartThings using built in capability that was thankfully included in the software with foresight.
Once you have that unzipped you’ll need to modify your dimming commands to something of the following:
{ url: ‘/milight/1/DimDown’, type: ‘shell’, shell: 'packetsender -uxwq 192.168.25.111 8899 “34 00 55” & timeout 2 & packetsender -uxwq 192.168.25.111 8899 “34 0055” ’ },
{ url: ‘/milight/1/DimUp’, type: ‘shell’, shell: 'packetsender -uxwq 192.168.25.111 8899 “3C 00 55” & timeout 1 & packetsender -uxwq 192.168.25.111 8899 “3C 00 55” ’ }
Then try it out and see where it dims to since the white bulbs don’t have a brightness value setting capability in the bulb itself. I added a second command (in bold) behind the first one to help demonstrate increasing or decreasing the brightness by simply copying and pasting the same command after itself with that “timeout 1” present (you may want to increase the value of 1 to 2 in case it’s not responding correctly, I know my bridge likes to be slow). If the one command of dimming is enough of course you could just simply delete the timeout and second command.
Let me know if this helps! I’ve never actually needed this functionality myself but nice to have that’s for sure.
Hey Brian, thanks for the reply. I unzipped that packetsender into the folder and added that code and nothing happened. If I use the limitlessled wifi bridge admin tool I can set the specific brightness. here is what the output looks like with brightness set at 5,
Start Wifi Bridge Session…
Send UDP commands to 192.168.1.18 port 5987
Sent: 20 00 00 00 16 02 62 3A D5 ED A3 01 AE 08 2D 46 61 41 A7 F6 DC AF D3 E6 00 00 1E
listenEndPoint udp datagram received length is 22
Received: 28 00 00 00 11 00 02 F0 FE 6B 48 FE 38 12 A2 33 24 00 01 EF 01 00
LimitlessLEDWifiBridgeSessionID1 is EF (receivedBytes[19])
LimitlessLEDWifiBridgeSessionID2 is 01 (receivedBytes[20])
The incoming UDP Packet received was from listenEndPoint.Address IP 192.168.1.18 (send-to IP could have been a broadcast IP .255, so we don’t know how many bridges might respond)
MAC Address is F0:FE:6B:48:FE:38 ( (receivedBytes[7]…receivedBytes[12])
Send Packet in this format [ 80 00 00 00 11(length in hex) (17 01)(WB1WB2) 00 SN 00 (31 00 00 08 04 01 00 00 00)(v6CommandString) 01(zone) 00 3F(chksum) ]
v6CommandString for this button is: 31 00 00 08 03 05 00 00 00
Length is: 17 cmd[4] = cmd.Length - 5; set packet length (excluding 5 packet header bytes)
WB1 is: 239 cmd[5] = (byteWifiBridgeSessionID1)
WB2 is: 1 cmd[6] = (byteWifiBridgeSessionID2)
Sequence Number is 11 cmd[8] = SequenceNumber
Checksum is 42 For i = 10 To 20 {intChecksum += cmd[i]} byteChecksum = CByte(intChecksum & 0xFF); cmd[21] = byteChecksum;
Sent: 80 00 00 00 11 EF 01 00 11 00 31 00 00 08 03 05 00 00 00 01 00 42
Command SUCCESSFUL.
Received: 88 00 00 00 03 00 11 00
Command completed.
Here is the output if I set it at 100%
Start Wifi Bridge Session…
Send UDP commands to 192.168.1.18 port 5987
Sent: 20 00 00 00 16 02 62 3A D5 ED A3 01 AE 08 2D 46 61 41 A7 F6 DC AF D3 E6 00 00 1E
listenEndPoint udp datagram received length is 22
Received: 28 00 00 00 11 00 02 F0 FE 6B 48 FE 38 12 A2 33 24 00 01 20 01 00
LimitlessLEDWifiBridgeSessionID1 is 20 (receivedBytes[19])
LimitlessLEDWifiBridgeSessionID2 is 01 (receivedBytes[20])
The incoming UDP Packet received was from listenEndPoint.Address IP 192.168.1.18 (send-to IP could have been a broadcast IP .255, so we don’t know how many bridges might respond)
MAC Address is F0:FE:6B:48:FE:38 ( (receivedBytes[7]…receivedBytes[12])
Send Packet in this format [ 80 00 00 00 11(length in hex) (17 01)(WB1WB2) 00 SN 00 (31 00 00 08 04 01 00 00 00)(v6CommandString) 01(zone) 00 3F(chksum) ]
v6CommandString for this button is: 31 00 00 08 03 64 00 00 00
Length is: 17 cmd[4] = cmd.Length - 5; set packet length (excluding 5 packet header bytes)
WB1 is: 32 cmd[5] = (byteWifiBridgeSessionID1)
WB2 is: 1 cmd[6] = (byteWifiBridgeSessionID2)
Sequence Number is 12 cmd[8] = SequenceNumber
Checksum is A1 For i = 10 To 20 {intChecksum += cmd[i]} byteChecksum = CByte(intChecksum & 0xFF); cmd[21] = byteChecksum;
Sent: 80 00 00 00 11 20 01 00 12 00 31 00 00 08 03 64 00 00 00 01 00 A1
Command SUCCESSFUL.
Received: 88 00 00 00 03 00 12 00
Command completed.
Is it possible to use this info to change the command to set brightness to 5 or 100?
Hmmm, I’m thinking you and I may have different versions of the white bulbs or maybe different bridge versions as the newer one actually supports two way communication between bulb and bridge whereas mine has only one way communication from the bridge.
Using that information I could trial and error perhaps but if you don’t have packetsender working I’m not sure we would result in anything different than nothing happening. Can you confirm what version your bridge and bulbs are currently on? Maybe the backwards compatibility only allows for on/off functionality and we’ll have to revamp the app.
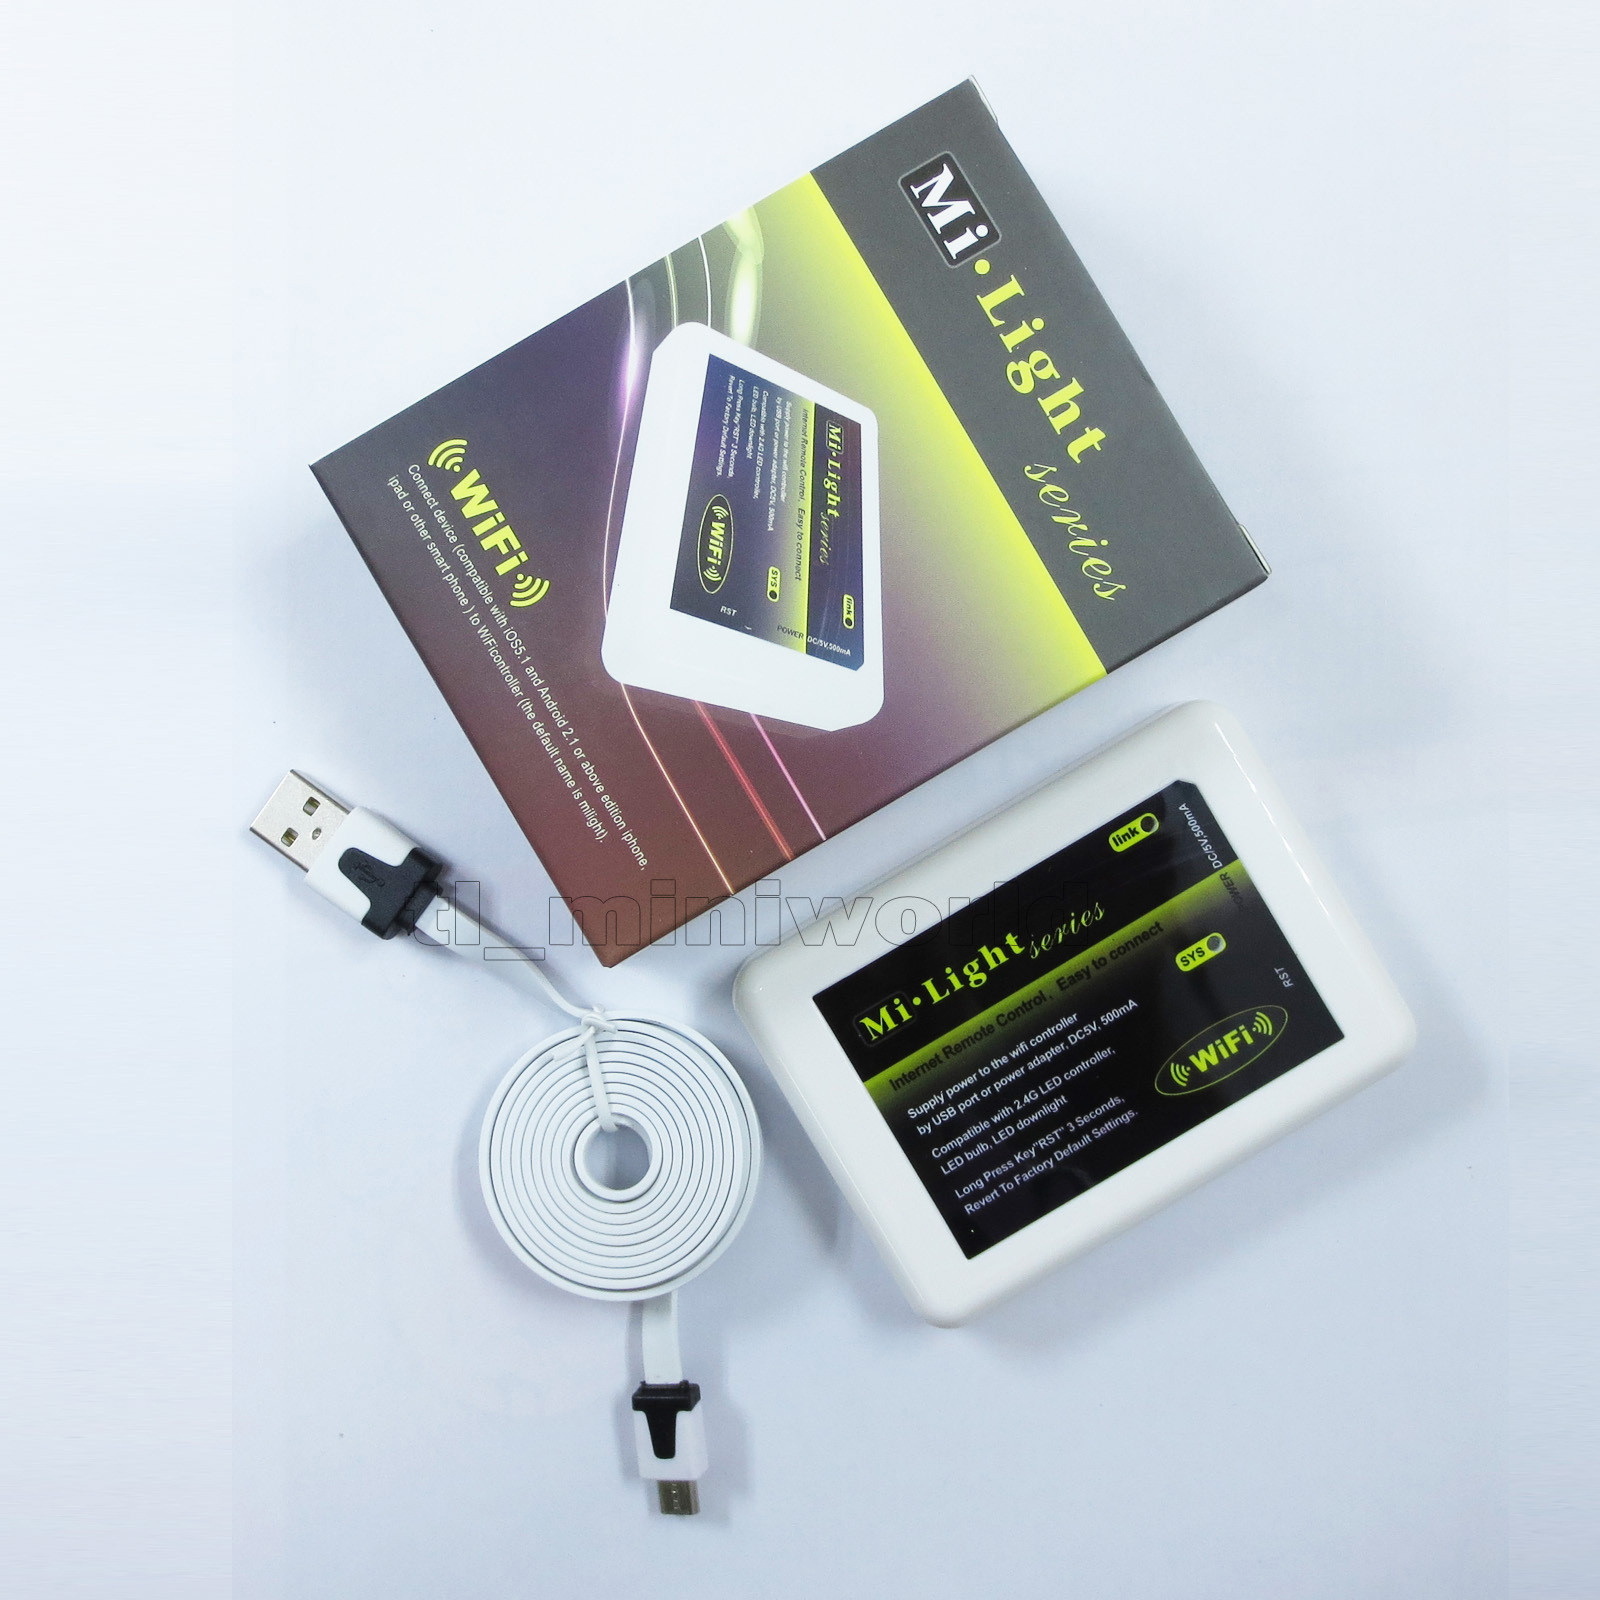
I am controlling some single color strip lights with this, https://www.amazon.com/MOKUNGIT-Mi-Light-Wireless-RGBW-Controller/dp/B01GRKZSL2?th=1. I also have 2 wifi controllers, the ibox2 and an older one. Not sure the version but this is what it looks like, https://i.ebayimg.com/images/g/hGAAAOSwpDdVSlKJ/s-l1600.jpg. I tried the packetsender with both bridges.
Hi Brian, I have been using your code (Server/requester) for some time using a windows box running Nodejs 9.1.0 and npm 5.6. Wanted to improve the responsiveness as the windows box is a bit old, so I moved it to a new server running Linux on better hardware… node-milight-promise works a dream and is instant, calling it using a milight.js script. However I just cant get the server function to work. All i have done on the requester side is change the IP address to point to the new server, so that should be fine. The server says its listening on 9512 but never seems to do anything. I have made sure I have the modules http and child-process installed. Thanks
Hi Dan,
Have you tried running the server script manually and observing the commands being received in terminal? I originally had this running on my own Linux box so it shouldn’t have any issues switching from Windows to Linux as I’ve done the reverse myself but there are some built in troubleshooting messages within the server script “server.js” that if run manually so you can observe the commands received and then messages given, we may gain some insight into what’s happening. My first suspect is that the “registered-commands.js” file wasn’t moved so you’re commands are being received but there’s no linked command for it to do anything.
Hey Brian, thanks for the reply. Found out what it was… Firewalld was running!  Thanks for your help.
1 Like
Glad to hear you got it figured out! For future reference, I was able to find a program called “Postman” https://www.getpostman.com/postman that allows you to send POST requests such as: 192.168.25.164:9512/milight/1/on/white and test to see if your server is receiving it on the same network using a separate computer this way you can prove the server side of things is okay. Just leaving this here in case it helps someone else or in case I’m asked again in 8 months and forget as that tends to happen.
Ok guys can some one on here please make a utube video showing us how to get these lights working with alexa or google mini .or how to make a hub …we are not all coders so i for 1 would love to give this a go if you could maybe make a video to help simplify it …cheers in advance
No need to reinvent the wheel here, found a step-by-step video for you sheriffdude:
Thanks very much for this so is this Samsung hub compatible with easy bulbs or as some people call them milight as that is what I am trying to do .if that’s all I need to get my easy bulbs working that would be great as have been looking for a workaround for ages
Yes, that video and also the video I already created at the top of this thread which requires a spare android device to always be on and running. That or you can use a pc or laptop that is always on or running which is also outlined in the top post.
This is, to my knowledge, the only way to have the easy bulbs compatible because the easy bulbs and hub need a middle man to facilitate communication. For me I had both options so it was an easy solution though some have found it to not work since they don’t have any devices to spare as a dedicated communication for their bulbs. If you do then simply follow the steps in the top post, then follow the Alexa video after having created the virtual switches and you should be good to go.
Hi All,
I have some outdoor garden spotlights that are MR16 bulbs. I see MiLight do some “smart” MR16 bulbs that should be a straight swap out.
I have a raspberry pi, so presumably could run the server software on this, but a couple of questions:-
- Does the solution outlined report state of the bulbs? Will I know if they are on/off ?
- Does the solution support color versions of these bulbs?
Anything else I need to think about?
Thanks!
D
-
No, the state of the bulbs is not reported and therefore can go “out of sync” with the hub allowing a light reporting on to actually be off. There is a work around to have the command be sent three times, first on, then off, then on again to ensure the synchronization is valid (same for turning them off, first off, then on, then off) however, in my experience, the only time I’ve ever dealt with the state being incorrect was during a power outage and simply turning them off and on a few times fixed the problem until the next outage and I only sent the on or off command once. So for me it was very rare and not much of an inconvenience.
-
I haven’t tested any MR16 bulbs but I did use some GU10 style color bulbs so I assume these shouldn’t have any problem but hopefully someone can confirm for sure. The biggest concern as of right now is the difference in bridge versions though I think they are backward compatible so that should be okay anyway.
Let me know if you need anything clarified.
1 Like