For instance, I have a little battery-powered rainbow spinny light that projects patterns on the wall. I’d love to open it up and solder a few wires to a zwave/zigbee radio so I can add it to the network. What should I be looking for?
Put a Smart Plug where it is plugged into…
If you turn it on by a switch, then make the switch Smart…
1 Like
There are several different ways to do this depending on the exact device. However, you need to be careful to match specifications in order to maintain fire safety.
1) if you have a plug-in device, just plug it into a Z wave or zigbee pocket socket.. This is by far the simplest method, and since you didn’t describe the “Spinny light” fully, it wasn’t clear if it’s battery operated, hardwired, or plug-in. But for completeness for others who might find this thread later, we should always mention this option first. Just check the specifications to make sure that the pocket socket can handle the current load. There are many brands and models that will work with SmartThings, the following is just one example. ![]()
https://www.amazon.com/Iris-Smart-Zigbee-Works-Amazon/dp/B01GCKAED4
Or as @rontalley mentioned, if the light already had a Wall switch, you can normally just replace that switch with a smart switch. The exact device will vary depending on the current requirements of the existing switch.
2) for a battery powered device, substitute mains power and then plug it into a pocket socket as in option one
The difficulty of this approach will depend on the type of batteries used by the device. If they are AA batteries, it’s pretty easy to find a dummy battery which you can substitute and create a plug-in option.
https://www.amazon.com/Complete-Adapter-Coupler-Included-Coolpix/dp/B008WYJDPE/
For Devices with other types of batteries, you may have to do some soldering. Know that if you do have to do any soldering, you will certainly void the warranty on the device. But there are still a lot of people who take that path for specific situations.
See The project reports section of the quick browse lists in the community – created wiki and look on the “power” list:
3) if you need to control a mains-powered relay, add a zwave relay, typically a Mimolite or Zooz.
The Mimolite is made specifically to add Z wave controllability to an existing mains powered device. This is a particularly good solution for heavy duty devices. But it may be too expensive for something as simple as a light.
http://www.fortrezz.com/shop/mimo-lite
In the US, The mimolite has become hard to find since the company was acquired by another one which is mostly using the products for professional installs, but in 2019 Zooz introduced a similar device although it’s for lighter loads. It has become quite popular.
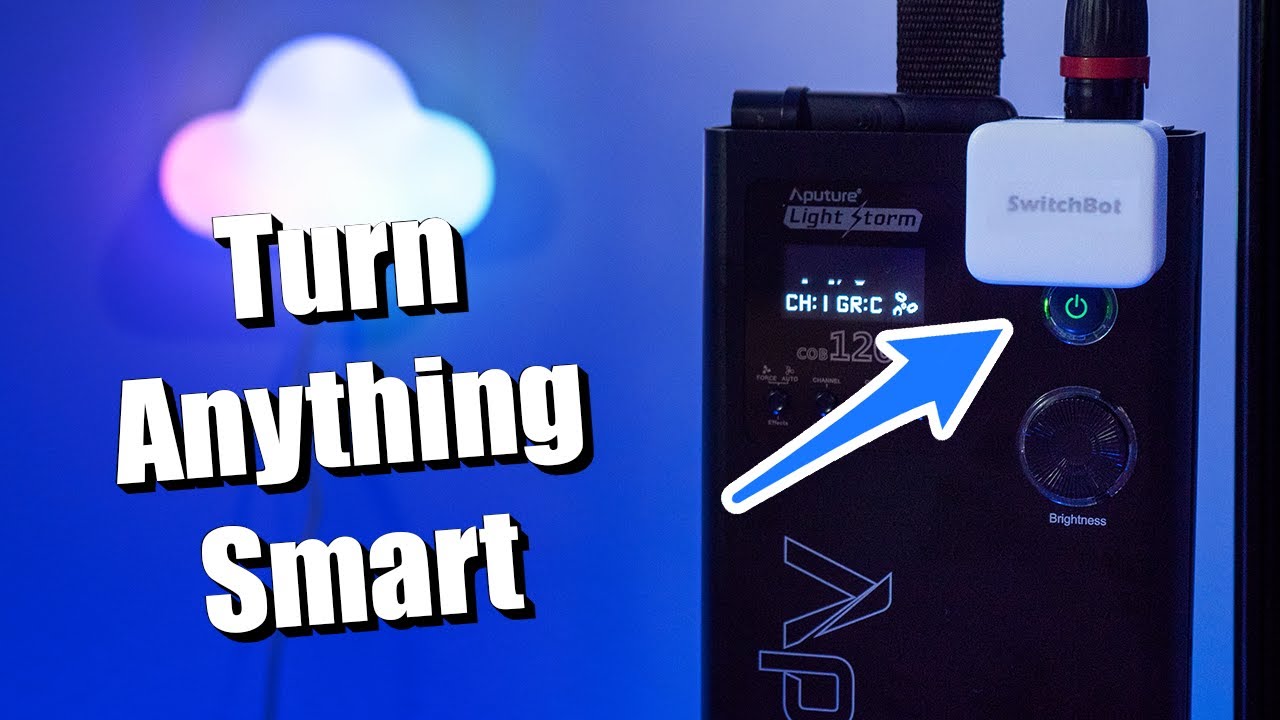
4) For Devices with a button or rocker, including existing remotes, use a “robot finger.”. For anything that has a button to be pressed, you can use a tiny actuator. I use these in my own home. And the Switchbot Brand has an official smartthings integration.
This is an easy way to get an integration with an older device, preserves fire safety, won’t void the warranty, and works well. It’s just that it’s expensive, about $40 for the bridge and $29 for each microbot. But it’s a good solution for many retrofit devices were there just aren’t very many other good solutions, and you can now buy them from Amazon.
I wrote a review at the following thread:
2020 Switchbot Review ( robot button pusher), integration through IFTTT or SmartThings app
https://www.amazon.com/SwitchBot-switch-button-controlled-compatible/dp/B07B7NXV4R
https://www.amazon.com/SwitchBot-Hub-Mini-Smart-Remote-dp-B07TTH5TMW/dp/B07TTH5TMW/
5) use an Arduino controller with an ESP8266 Wi-Fi antenna. You have to check specs carefully on these projects to maintain fire safety. The Internet is full of projects where people took five volt devices and hooked them to 3.3 V Arduino’s. Don’t do that. ![]() But there are various options for dealing with the power requirements safely.
But there are various options for dealing with the power requirements safely.

See the following for more discussion of these projects:
6) If the device has its own IR or Bluetooth remote, use a Harmony Hub or other IR Blaster
This is a popular option for the kind of little spotlights that people use on posters in a home theater. These typically have their own handheld remote. If the remote is one that you can replace with a Switchbot mini hub or another smartthings – compatible IR blaster, you can get control that way. At my own house, we use these for some battery operated flameless candles. ![]()
There are some other options if you don’t need to turn the device on and off but are just looking to capture input from it, such as an open/close sensor. But that doesn’t fit your initial description so I won’t detail those here. ![]()
11 Likes
Awesome.
Option 2 or 5 looks to be the best option since the lamp is battery powered. I have a couple arduinos I’m not doing anything with.
1 Like
Remember that with 2, it’s a two-step process. First you convert the original device to use mains power. Then you just plug it into a smart plug. You need to do it this way because the radio required to communicate with the SmartThings app will use up too much battery power for an ordinary on/off device. ![]()

It might be.
It’s easy to find dummy batteries in a AA size, so then it’s just a question of how you get them wired.
The prebuilt ones can get expensive, but some people will choose this just because of the simplicity of the solution. These are popular for cameras and game controllers, so they’re pretty easy to find in configurations for 1 to 8 AA batteries.
http://www.batteryeliminatorstore.com/index.php?id_product=16&controller=product
http://www.batteryeliminatorstore.com/index.php?id_product=28&controller=product


If you feel comfortable with electrical projects, you can also wire your own with dummy batteries which should save about $25. Just make sure you check the specs on everything and don’t overload the power source.
This is one of those projects where different people will choose very different solutions because some are willing to pay more for the convenience and safety of a prebuilt solution. 
1 Like
Wow, I’m amazed this site even exists.
The lamp says it’s 15V, which seems like a lot, considering there can’t be more than 3 or 4 LEDs in there.
Hah, surely it must mean 1.5v.
Probably wouldn’t need 4 batteries for 1.5 V. That’s just one AA battery. Assuming those are AA and not AAA.
Would it be a 6V lamp then, if it uses 4 batteries?
Tested it with only 1 battery - no dice… which means it’s wired in serial and must be a 6v lamp. Which makes more sense now that I’ve done some research.